Unlock the Secret to Irresistible Oven Ribs
Tired of dry, tough ribs? Dreaming of that melt-in-your-mouth tenderness usually reserved for barbecue joints? You’re in the right place! Baking ribs in the oven is not just possible; it’s our preferred method for achieving consistently succulent, fall-off-the-bone results with minimal fuss. This guide will walk you through creating ribs that are so good, they’ll become your go-to recipe.
Why Bake Ribs in the Oven?
- Consistent Tenderness: The oven provides a stable, even cooking environment, perfect for slowly breaking down tough connective tissues.
- Less Mess: No charcoal, no flare-ups, just delicious ribs contained neatly in your kitchen.
- Weather Independent: Rain or shine, you can enjoy perfectly cooked ribs any day of the year.
- Flavor Control: You have complete command over seasonings and sauces.
The Essentials: What You’ll Need
Before diving in, gather your ingredients and tools. This recipe focuses on pork spare ribs or baby back ribs.
Ingredients:
- 1-2 racks of pork ribs (baby back or spare ribs)
- 2-3 tbsp yellow mustard (optional, as a binder for rub)
- 2-3 tbsp of your favorite dry rub for ribs (paprika, garlic powder, onion powder, brown sugar, salt, pepper, cayenne)
- 1 cup of your favorite barbecue sauce
- Apple cider vinegar or apple juice (for moisture in foil, optional)
Tools:
- Baking sheet(s)
- Aluminum foil (heavy-duty is best)
- Parchment paper (optional, for easier cleanup)
- Basting brush
- Sharp knife
- Paper towels
Step-by-Step: Baking Perfect Oven Ribs
Follow these steps for ribs that are incredibly tender and bursting with flavor.
Step 1: Prepare the Ribs
- Remove the Membrane: This is a crucial step for tender ribs. On the bone-side of the rack, locate the thin, papery membrane. Use a butter knife or the back of a spoon to lift an edge of the membrane from one of the middle bones. Once you have a good grip, use a paper towel to pull it away completely. It should come off in one piece.
- Rinse and Pat Dry: Rinse the ribs under cold water and pat them thoroughly dry with paper towels.
- Apply the Binder (Optional): If using, spread a thin layer of yellow mustard over both sides of the ribs. This won’t impart a strong mustard flavor but helps the rub adhere.
- Season Generously: Sprinkle your dry rub liberally over both sides of the ribs. Gently massage it in. Don’t be shy – this is where much of your flavor comes from!
Step 2: The Slow Bake for Tenderness
This long, slow cook is the secret to fall-off-the-bone ribs.
- Preheat Oven & Wrap Ribs: Preheat your oven to a low 275°F (135°C). Place the seasoned ribs on a large sheet of heavy-duty aluminum foil (or two layers of regular foil). If desired, pour a tablespoon or two of apple cider vinegar or apple juice over the ribs before wrapping to add moisture.
- Seal Tightly: Wrap the ribs tightly in the foil, creating a sealed packet. Ensure there are no leaks to keep the steam trapped inside.
- Bake Low and Slow: Place the foil-wrapped ribs on a baking sheet. Bake for 2.5 to 3.5 hours, depending on the thickness of your ribs. For baby back ribs, 2.5-3 hours is often sufficient. For spare ribs, aim for 3-3.5 hours.
- Check for Tenderness: After the initial bake, carefully open a corner of the foil (watch out for steam!). The meat should have pulled back from the bones by about half an inch, and if you gently prod it, it should feel very tender and almost pull away.
Step 3: The Sizzling Finish & Sauce
Now it’s time to add that irresistible sticky, caramelized barbecue sauce layer.
- Unwrap and Drain: Carefully remove the ribs from the oven. Fully unwrap them and carefully drain any accumulated liquids from the foil. You can discard the foil or use a fresh sheet if preferred, lining the baking sheet with parchment paper for easier cleanup.
- Preheat for Finishing: Increase your oven temperature to 400-425°F (200-220°C).
- Sauce and Bake: Generously brush both sides of the ribs with your favorite barbecue sauce. Return the sauced ribs, unwrapped, to the hot oven.
- Caramelize: Bake for another 15-25 minutes, or until the sauce is bubbly, slightly caramelized, and sticky. Keep a close eye on them to prevent burning. If you like a thicker crust, you can even put them under the broiler for a minute or two at the very end (watch constantly!).
Step 4: Rest and Serve
- Rest: Once the ribs are beautifully sauced and caramelized, remove them from the oven and let them rest for 5-10 minutes. This allows the juices to redistribute, ensuring maximum tenderness and flavor.
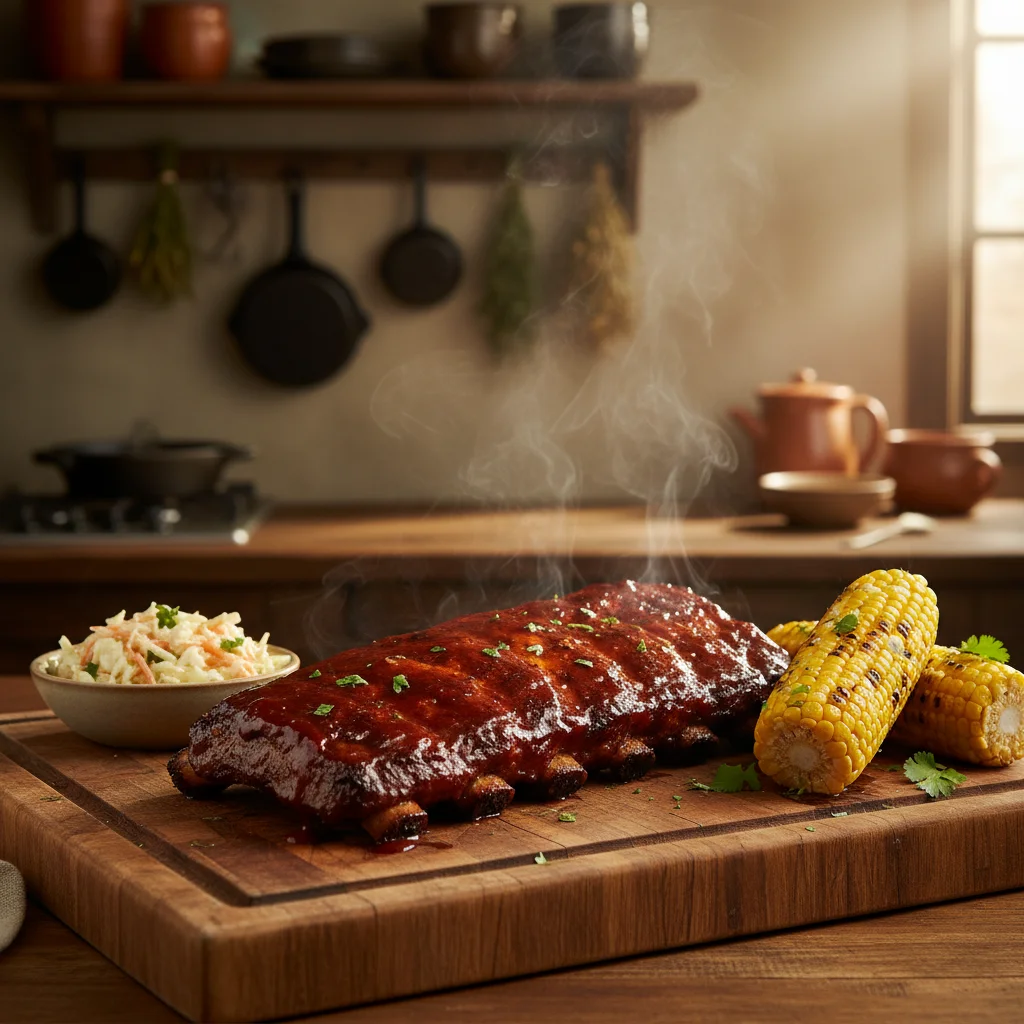
- Slice and Enjoy: Slice the ribs between the bones and serve immediately with your favorite sides like coleslaw, corn on the cob, or potato salad.
Tips for Rib-Cooking Success
- Don’t Rush the Bake: The ‘low and slow’ method is non-negotiable for tender ribs. Patience pays off!
- Experiment with Rubs & Sauces: There’s a world of flavor out there. Try different spice blends and barbecue sauces to find your perfect combination.
- Make Ahead Option: You can cook the ribs through Step 2, let them cool completely, and refrigerate for up to 3 days. When ready to serve, preheat your oven to 400-425°F, sauce them, and bake for 20-30 minutes until heated through and caramelized.
- Use a Rack: If you have an oven-safe wire rack, you can place the ribs on it during the saucing phase for more even caramelization, allowing air to circulate around them.
Conclusion
Baking ribs in the oven might just become your favorite way to prepare this classic dish. With a little preparation and the right technique, you’ll be serving up unbelievably tender, flavor-packed ribs that will have everyone asking for your secret. So go ahead, fire up that oven, and get ready to enjoy some truly spectacular homemade barbecue!